
Take Control Behind the Lens: Why Manual Mode Changes Everything
Auto mode guesses what your scene needs — manual mode lets you decide. Here's how mastering aperture, shutter speed, and ISO gives you full creative control over every image you capture.
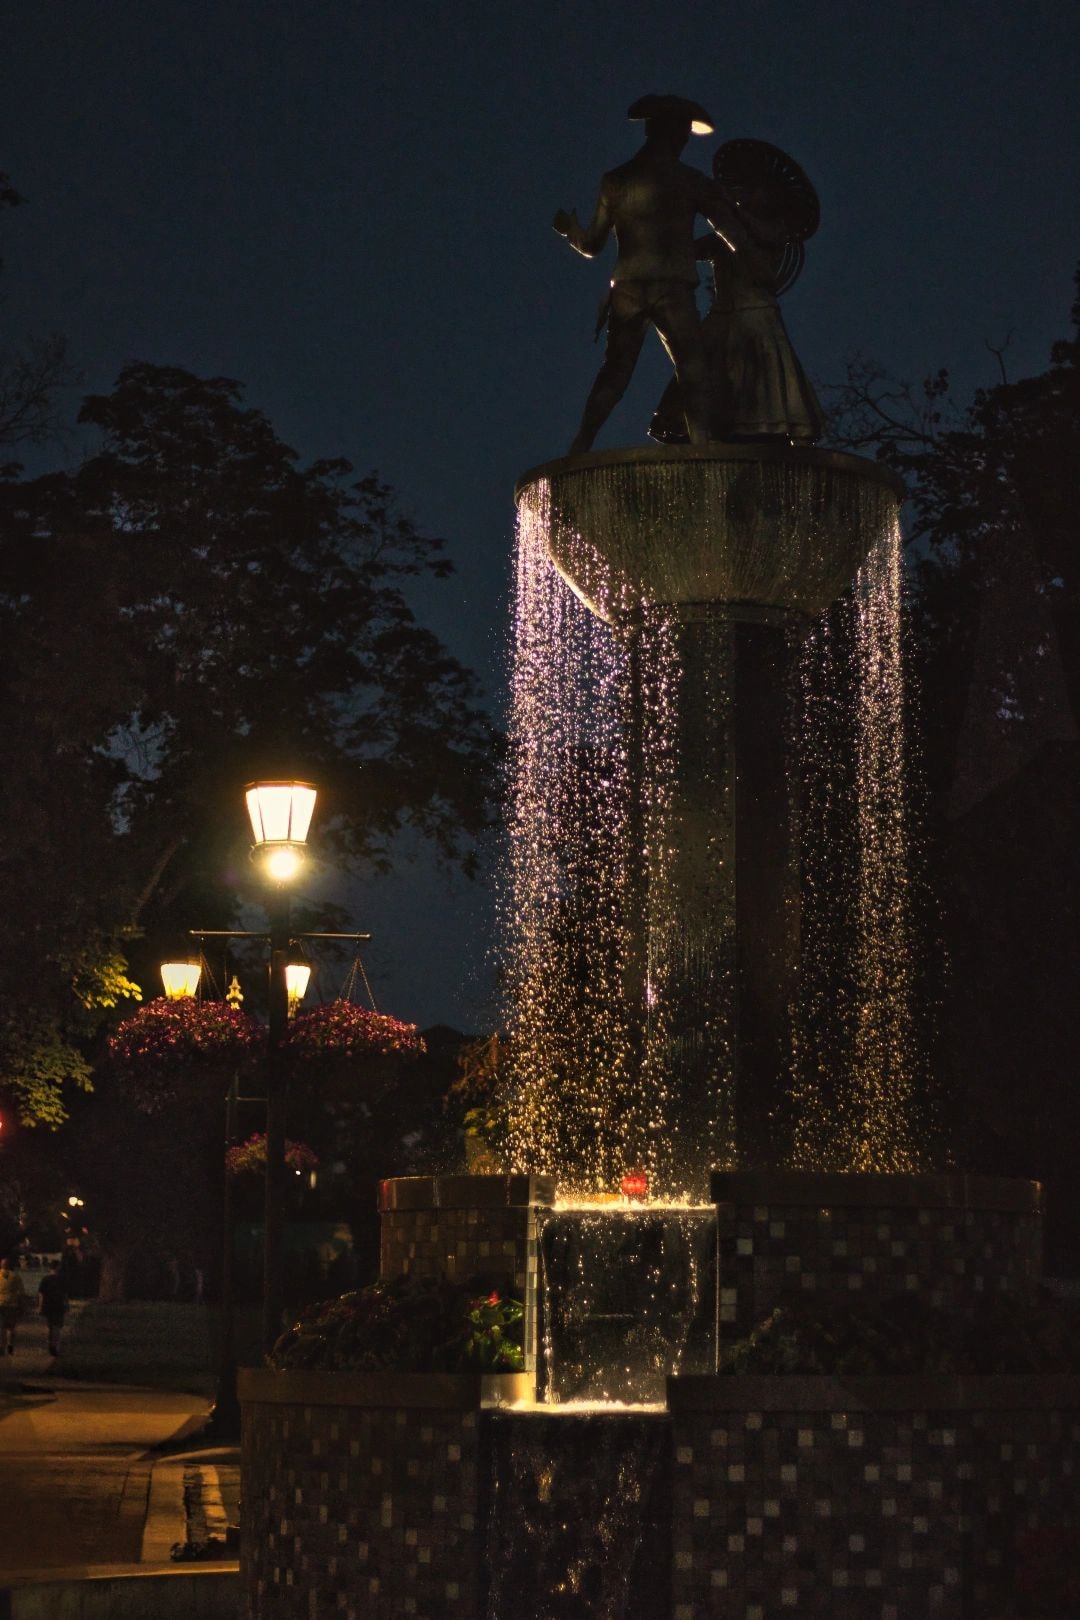
Most photographers start in auto mode — but real creative power begins when you step into manual. Understanding manual camera settings isn't just for pros; it's the key to consistently capturing high-quality images in common shooting scenarios, from golden hour portraits in Southeast Michigan to dimly lit indoor events in Frankenmuth. Auto mode guesses what your scene needs; manual mode lets you decide — giving you precision over exposure, motion blur, depth of field, and mood.
In this guide, you'll learn how to balance aperture, shutter speed, and ISO to match real-world lighting conditions and artistic intent. Whether you're shooting crisp real estate interiors, motion-filled wedding moments, or emotive black and white portraits with selective color, mastering manual settings allows you to adapt quickly and confidently.
Unlock Your Camera's Full Potential: Master the Exposure Triangle
Understanding how aperture, shutter speed, and ISO work together is essential for taking full control of your images — especially in dynamic shooting environments like weddings, events, or low-light real estate photography. When used intentionally in manual mode, they allow you to create consistent, professional-grade results regardless of lighting conditions.
- Aperture controls how much light enters through your lens and affects depth of field. A wide aperture (like f/1.8) creates a soft background, perfect for portraits in Southeast Michigan's golden-hour light. A narrow aperture (f/8 or higher) keeps more of the scene in focus — ideal for architectural details or group shots at outdoor ceremonies.
- Shutter speed determines how long the sensor is exposed to light. Fast speeds (1/1000 sec) freeze action, great for candid moments. Slower speeds (1/60 sec or below) let in more light but risk blur — use a tripod when shooting in dimly lit chapels or reception halls.
- ISO adjusts your camera's sensitivity to light. Keep it low (ISO 100–400) in bright conditions to preserve detail and avoid noise. In darker environments, increase ISO carefully (800–3200) to maintain exposure without sacrificing too much image quality.
Balancing all three lets you adapt on the fly — whether you're chasing soft, emotive black and white wedding images or vibrant real estate visuals with rich tonal range. Practice adjusting them together in manual mode to gain confidence and consistency in any setting.
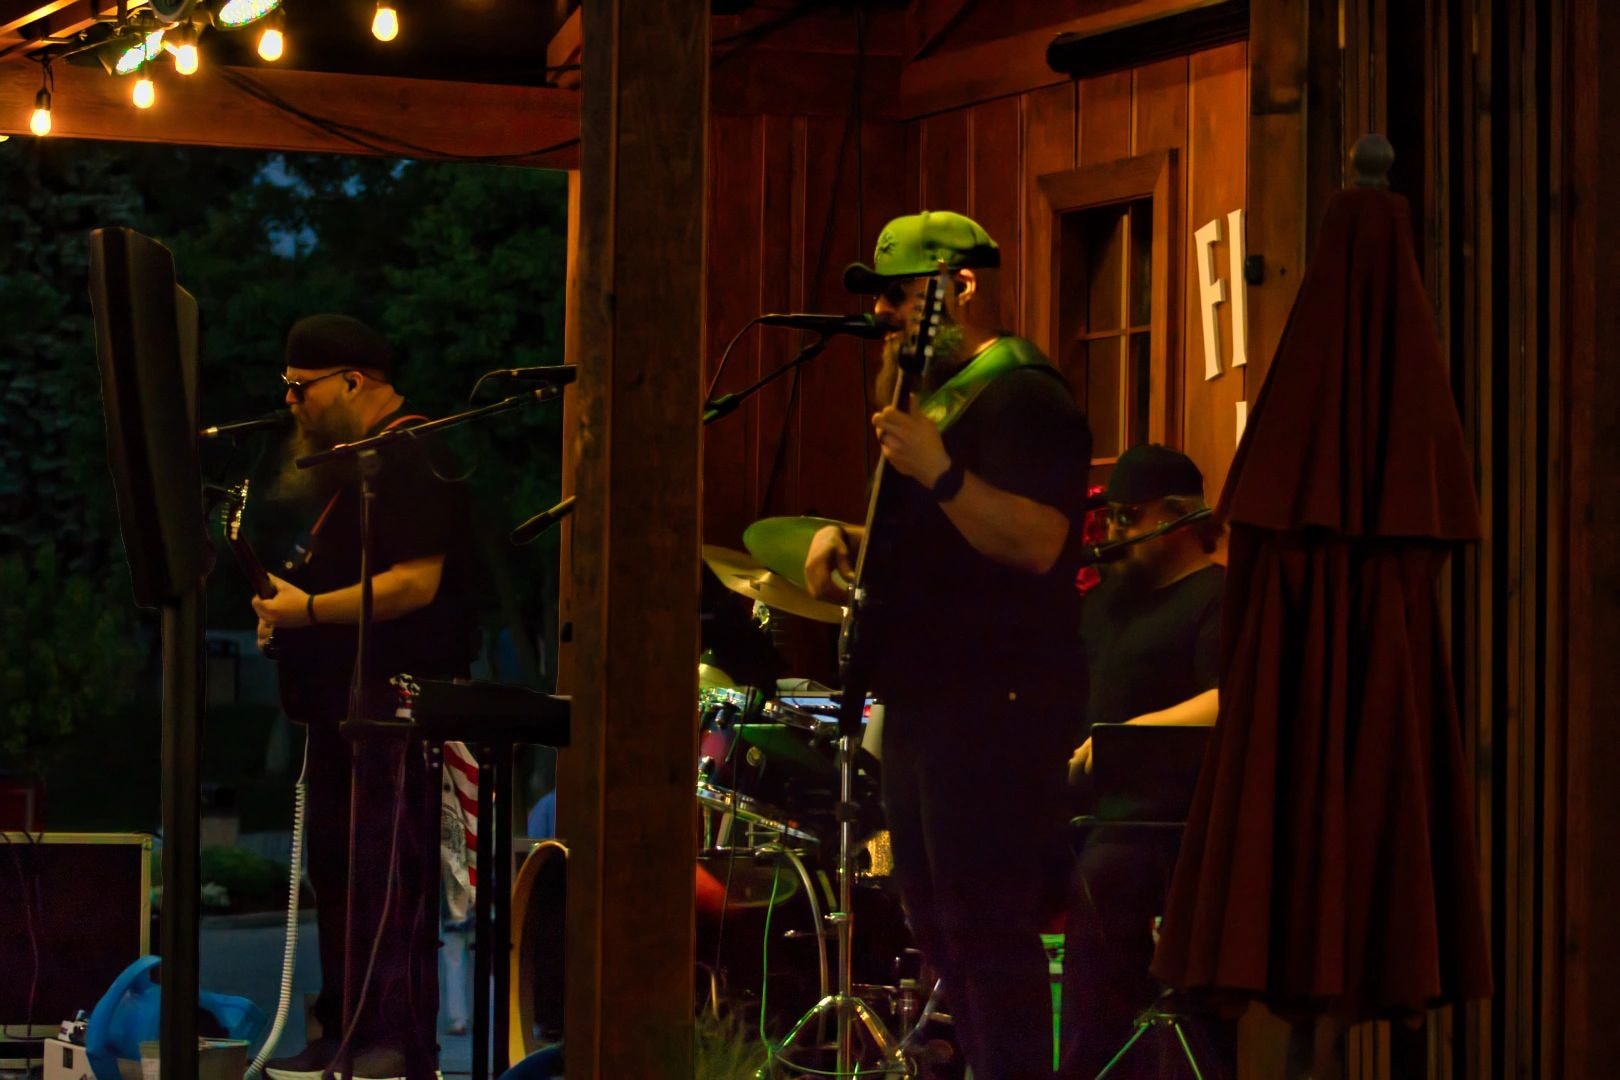
Manual Settings for Stunning Portraits
Capturing breathtaking portrait photography goes beyond just pointing and shooting — it requires manual settings tailored to your lighting and environment.
- Start with aperture settings between f/1.8 and f/4 to achieve that creamy background blur (bokeh), which helps isolate your subject and draw focus to their eyes.
- Pair this with a shutter speed of at least 1/125s to avoid motion blur, especially if your subject is slightly moving or blinking.
- Set your ISO between 100–400 in daylight, increasing only when necessary in low-light conditions.
- Shoot during golden hour or in open shade to soften facial features and reduce harsh contrasts.
- Always review your histogram and adjust settings on the fly to account for changing light.
Sharp Landscapes: Manual Settings Guide
Whether you're photographing the shorelines of Lake Huron or scenic spots across Southeast Michigan, precise control over the exposure triangle is essential for edge-to-edge sharpness.
- Use a narrow aperture — f/8 to f/16 — to maximize depth of field, keeping both foreground and distant horizons in focus.
- Set your ISO to 100 or the lowest native setting to minimize noise and preserve image clarity.
- Use a tripod and a two-second delay or remote shutter to eliminate camera shake.
- For hyper-sharp results, use live view magnification to manually focus one-third into the scene (hyperfocal distance).
- Shoot in RAW format to retain maximum detail for post-processing.
Freezing the Action: Sports and Fast-Paced Moments
Capturing dynamic movement requires precise control over your camera's core settings.
- For freezing motion, prioritize a fast shutter speed — typically 1/500th of a second or faster.
- Pair this with continuous autofocus (AI Servo or AF-C) and burst mode to track moving subjects.
- To create intentional motion blur, slow your shutter speed to 1/60th or slower and experiment with panning — following your subject's movement smoothly.
- Use aperture priority or manual mode for full control, adjusting ISO to maintain proper exposure without introducing noise.
Top Manual Mode Questions Answered
How do I set the right exposure for outdoor portraits in bright sunlight?
Use a faster shutter speed (1/1000 sec or higher), narrow your aperture (f/8–f/11), and lower your ISO (100–200). Consider using a reflector or diffuser to balance light, especially in open areas where midday sun can be intense.
What settings work best for low-light indoor events like receptions?
Prioritize a wide aperture (f/1.8–f/4), increase ISO (800–3200 depending on your camera's noise tolerance), and slow your shutter speed (1/60 sec or slower — use a tripod if necessary). Shooting in RAW helps recover shadow detail in post-processing.
How do I maintain consistent color tones in mixed lighting?
Manually set your white balance based on the dominant light source instead of relying on Auto WB. This prevents unwanted color casts, especially when blending natural light with indoor fixtures during twilight shoots.
Should I shoot in manual mode for every situation?
While manual gives full control, consider using Aperture Priority (A/Av) in rapidly changing light. This lets you control depth of field while the camera adjusts shutter speed — an ideal balance for evolving environments.
How to Build Confidence with Manual Settings
Mastering manual settings doesn't happen overnight — it's built through consistent practice across real-world shooting scenarios. Start by dedicating time to shoot in manual mode daily, even if it's just for 15 minutes. Focus on one setting at a time: spend a day mastering aperture and depth of field, then move to shutter speed's impact on motion blur, and finally fine-tune ISO for varying light.
- Use natural environments to your advantage — early morning light in a local park offers soft, diffused illumination perfect for practicing balanced exposures.
- Keep a photography journal to track your settings, lighting conditions, and results. This habit builds pattern recognition and speeds up decision-making.
- Challenge yourself with themed shoots — "one lens, one hour" or "only natural light" — to grow adaptability.
- Always review your images critically: is the focus sharp, the motion frozen or intentionally blurred, the lighting mood-appropriate?
Your camera should feel like an extension of your vision. Keep shooting, keep learning, and let every frame bring you closer to mastery.
Want to see what intentional, manual-mode photography looks like in practice? Browse the Atelier Lens portfolio or book a session to experience the difference firsthand.
Book a SessionSee manual-mode photography in action — weddings, events, pets, and fine art across Southeast Michigan.
Browse the PortfolioBook a personal session — pet portraits, weddings, elopements, and fine art prints.
Book a SessionRelated Pages
Ready to Work Together?
Let's Create Something Timeless
Veteran-owned studio in New Baltimore, MI. Serving Macomb County, St. Clair County, and Southeast Michigan. Every session starts with a conversation.